
How to Create and Install a Facebook Pixel on Your Website: Step-by-Step Guide [Post iOS 14]
Need help installing your Facebook pixel? You're in the right place. This post will teach you everything you need to know.


“The Meta Pixel is a piece of code that you put on your website that allows you to measure the effectiveness of your advertising by understanding the actions people take on your website. You can use the Meta Pixel to drive more sales.” - Facebook Business Help Center
Understanding The Facebook Pixel
The Facebook pixel is a piece of code that you install on your website. Once installed, the pixel tracks specific data on your site and feeds it to Facebook.
The pixel will allow you to retarget people who have visited your site, track custom actions that people take on your site and optimize your ads based on those actions, and give Facebook more data to machine learn with which will ultimately improve the results of your ad campaigns.
If you’re serious about Facebook advertising, the pixel is a must.
Step-by-Step Guide to Install Your Pixel
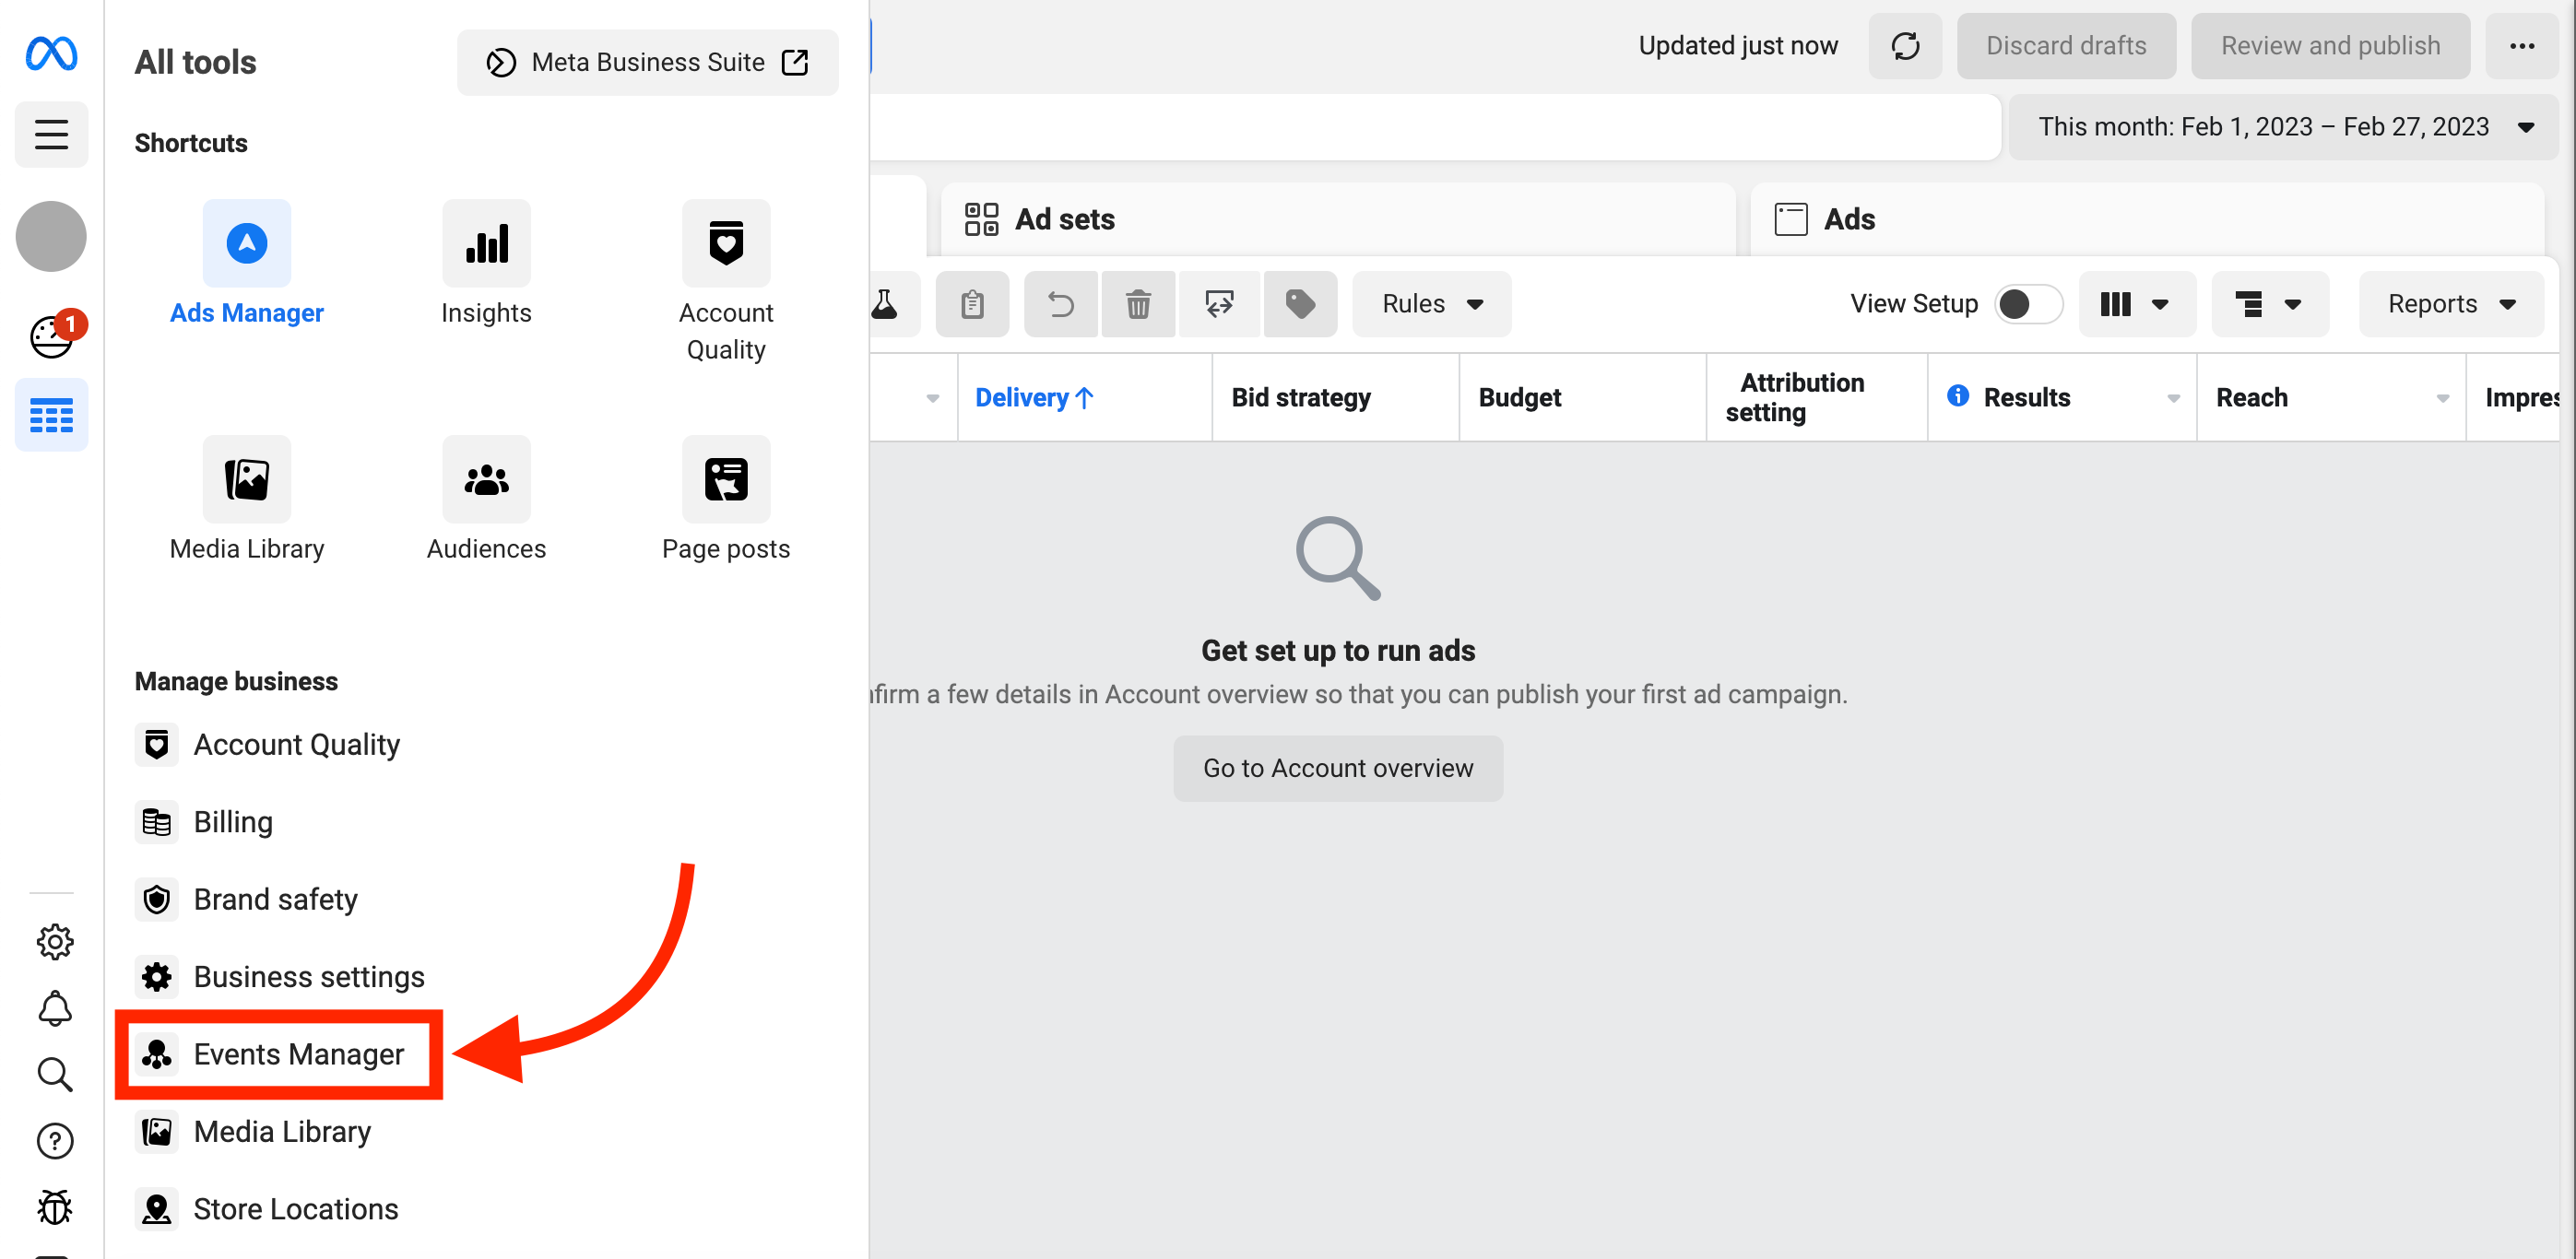
Login to Facebook Ads Manager, and navigate to “Events Manager” on the left hand side.

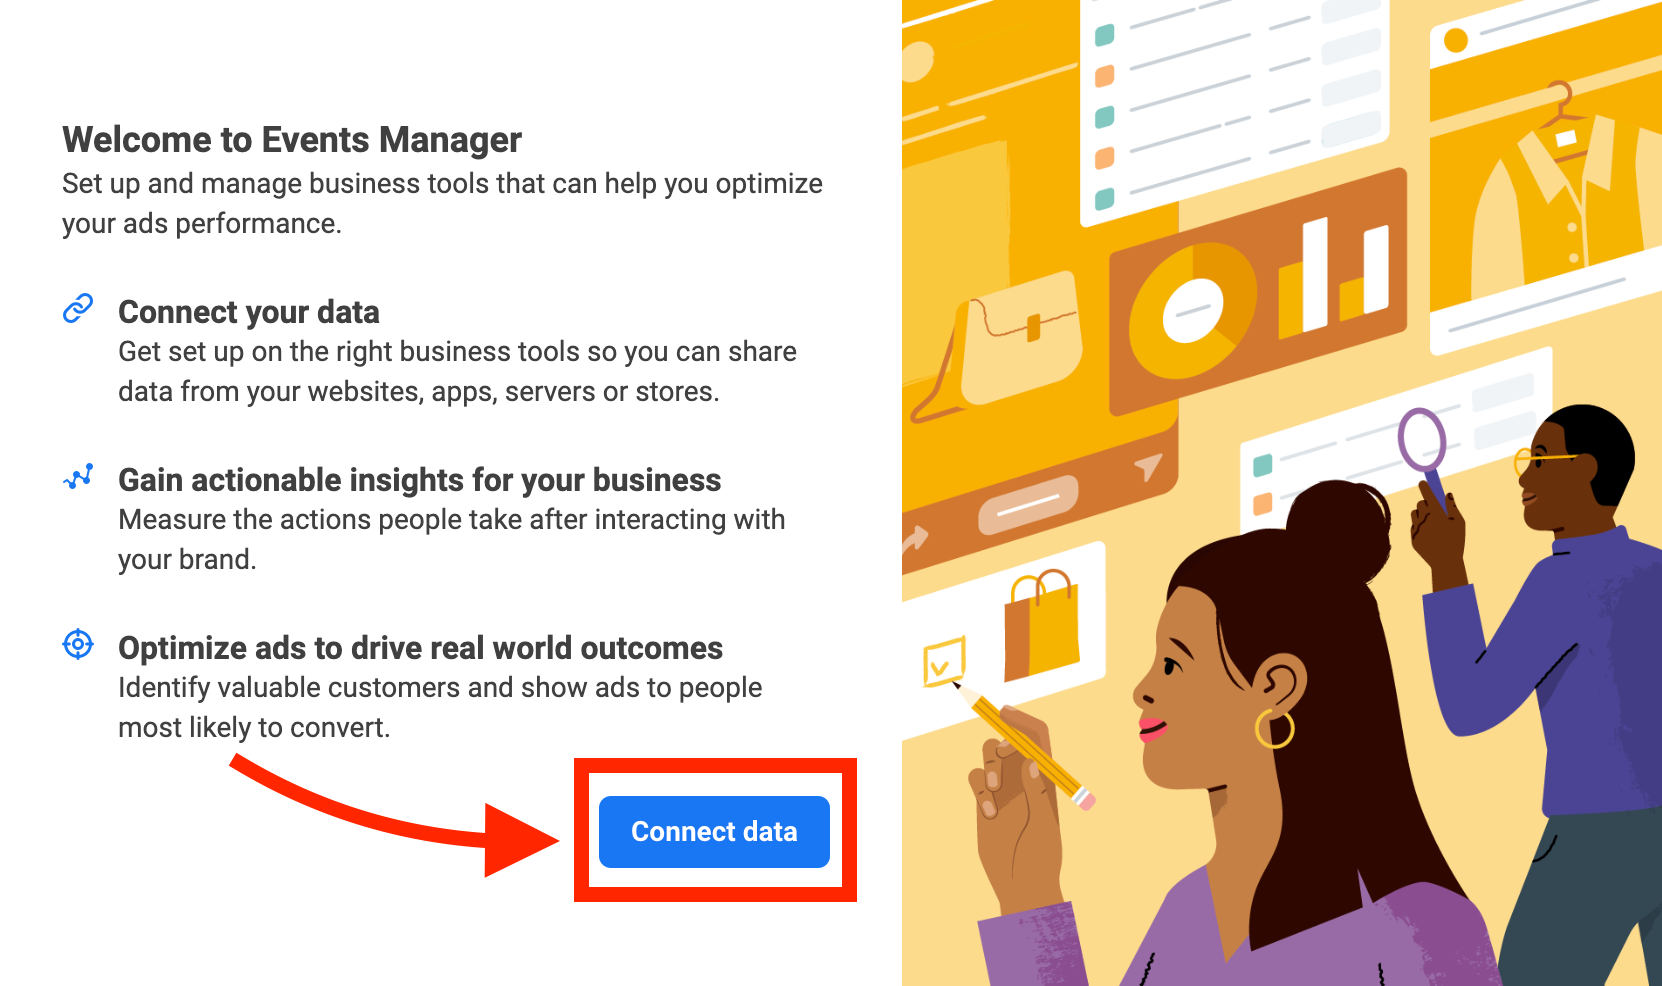
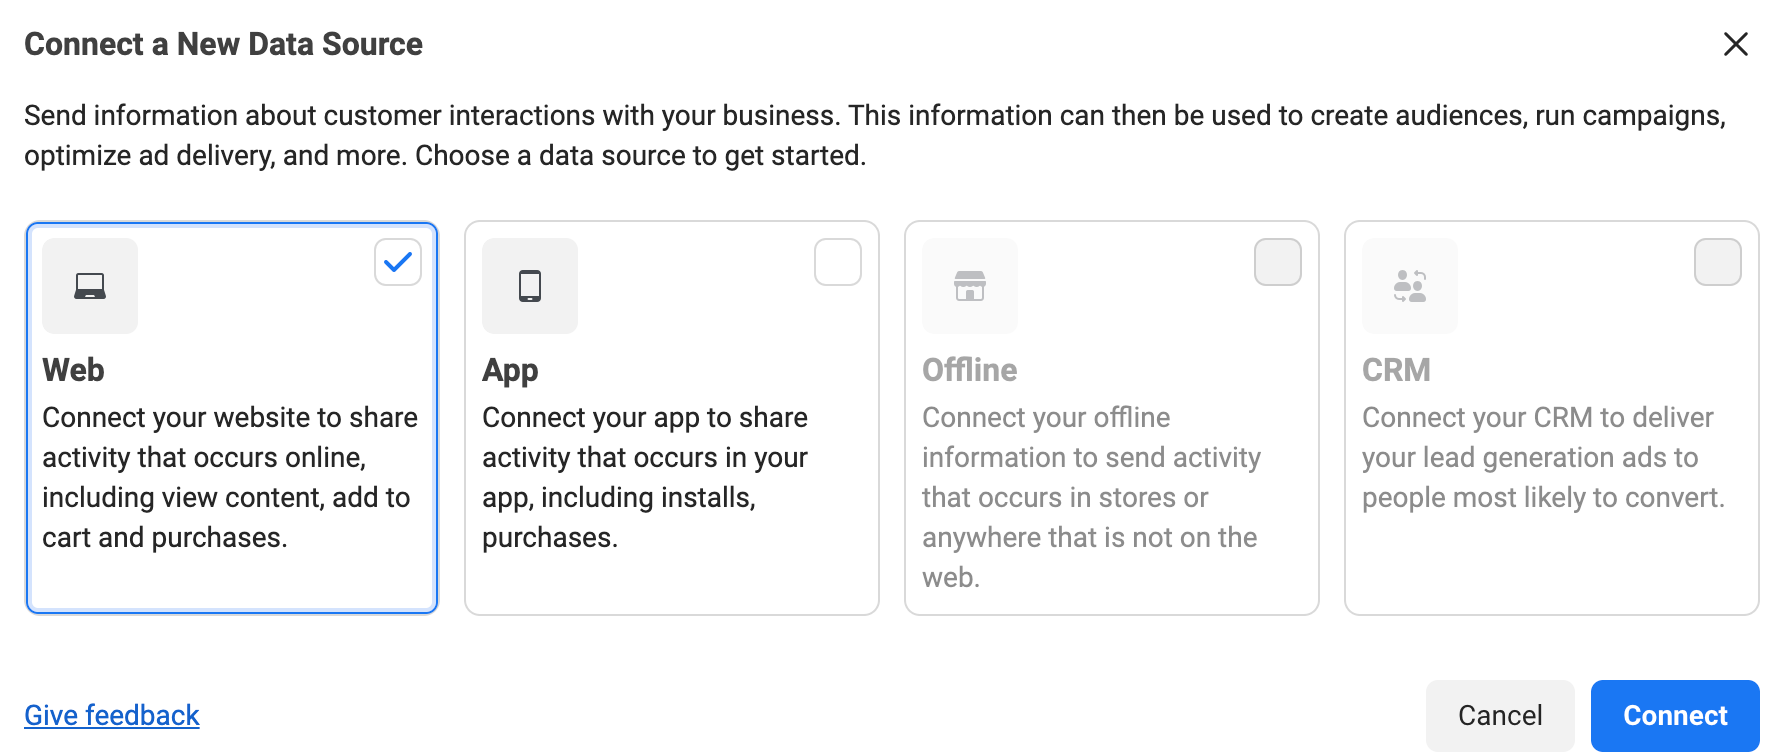
Once you’re in Events Manager, click “Connect Data.” A source menu will pop up, select the source you’d like to connect (for this case we’re going to select website).


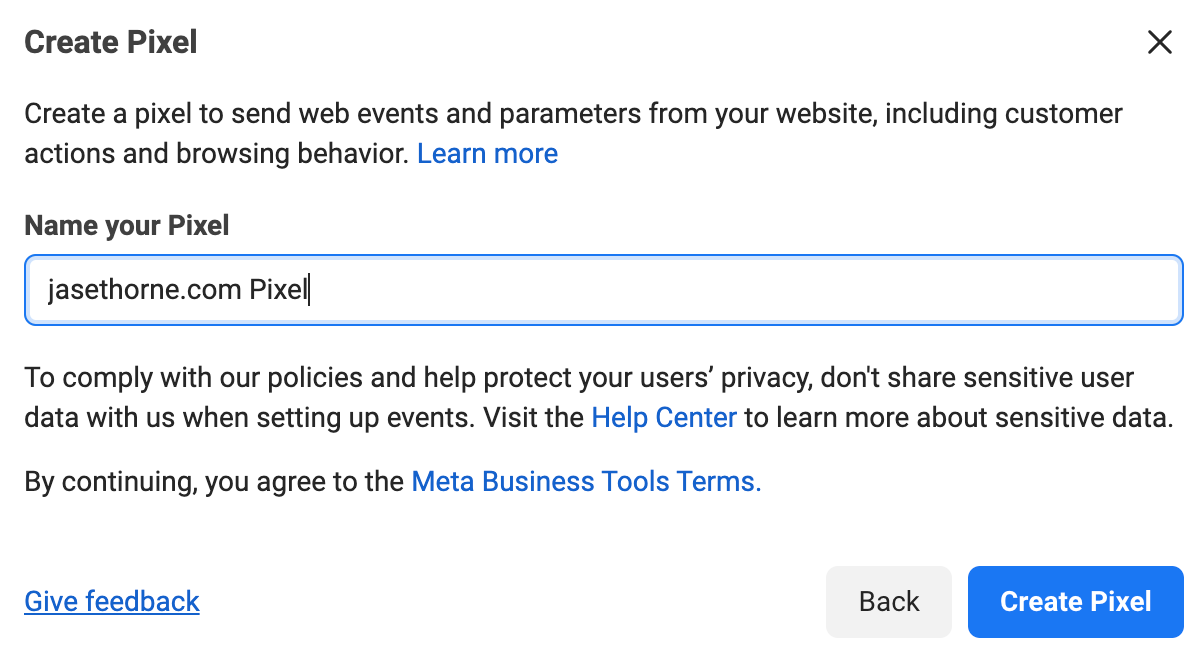
Name your pixel (make this a clear name in case you install more pixels in the future and need to differentiate) and click “Create Pixel.”

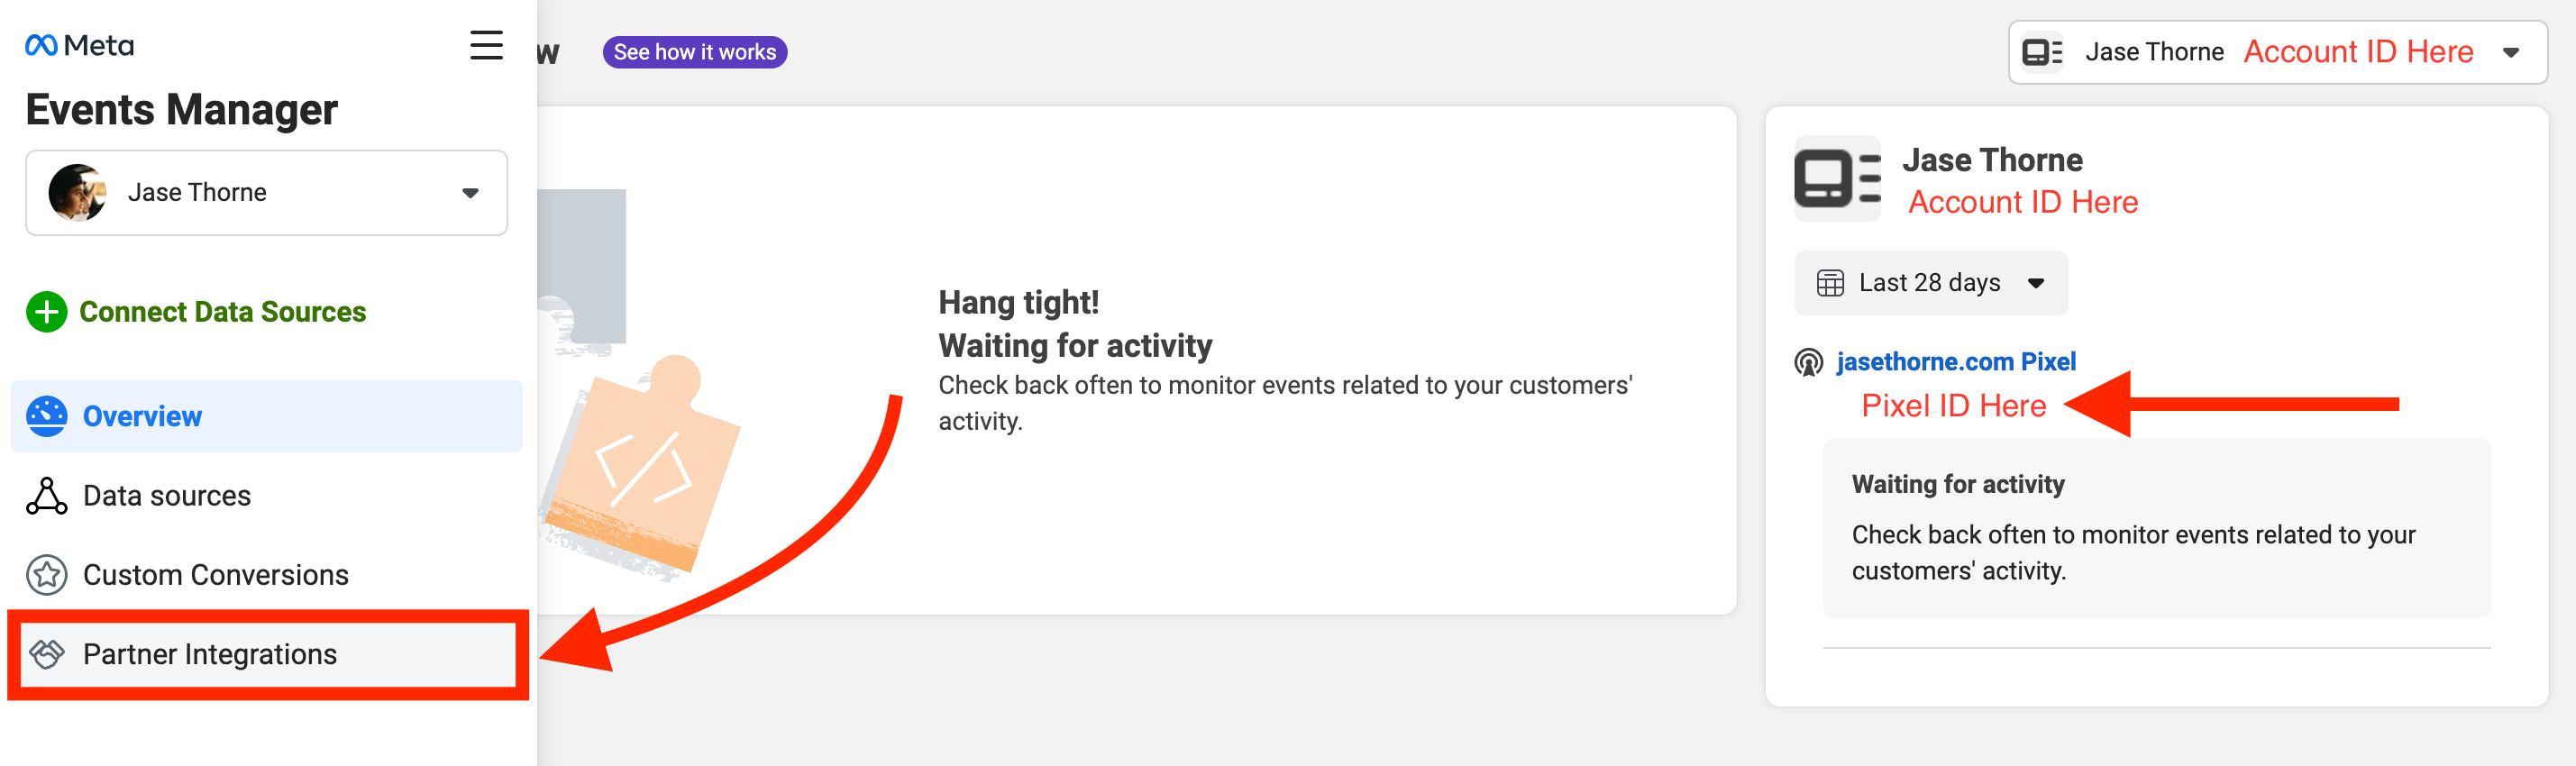
Next, you’ll automatically be sent to the Events Manager dashboard. Make sure you have a pixel ID (this will confirm the creation of your pixel), then navigate to “Partner Integrations” on the left hand side.

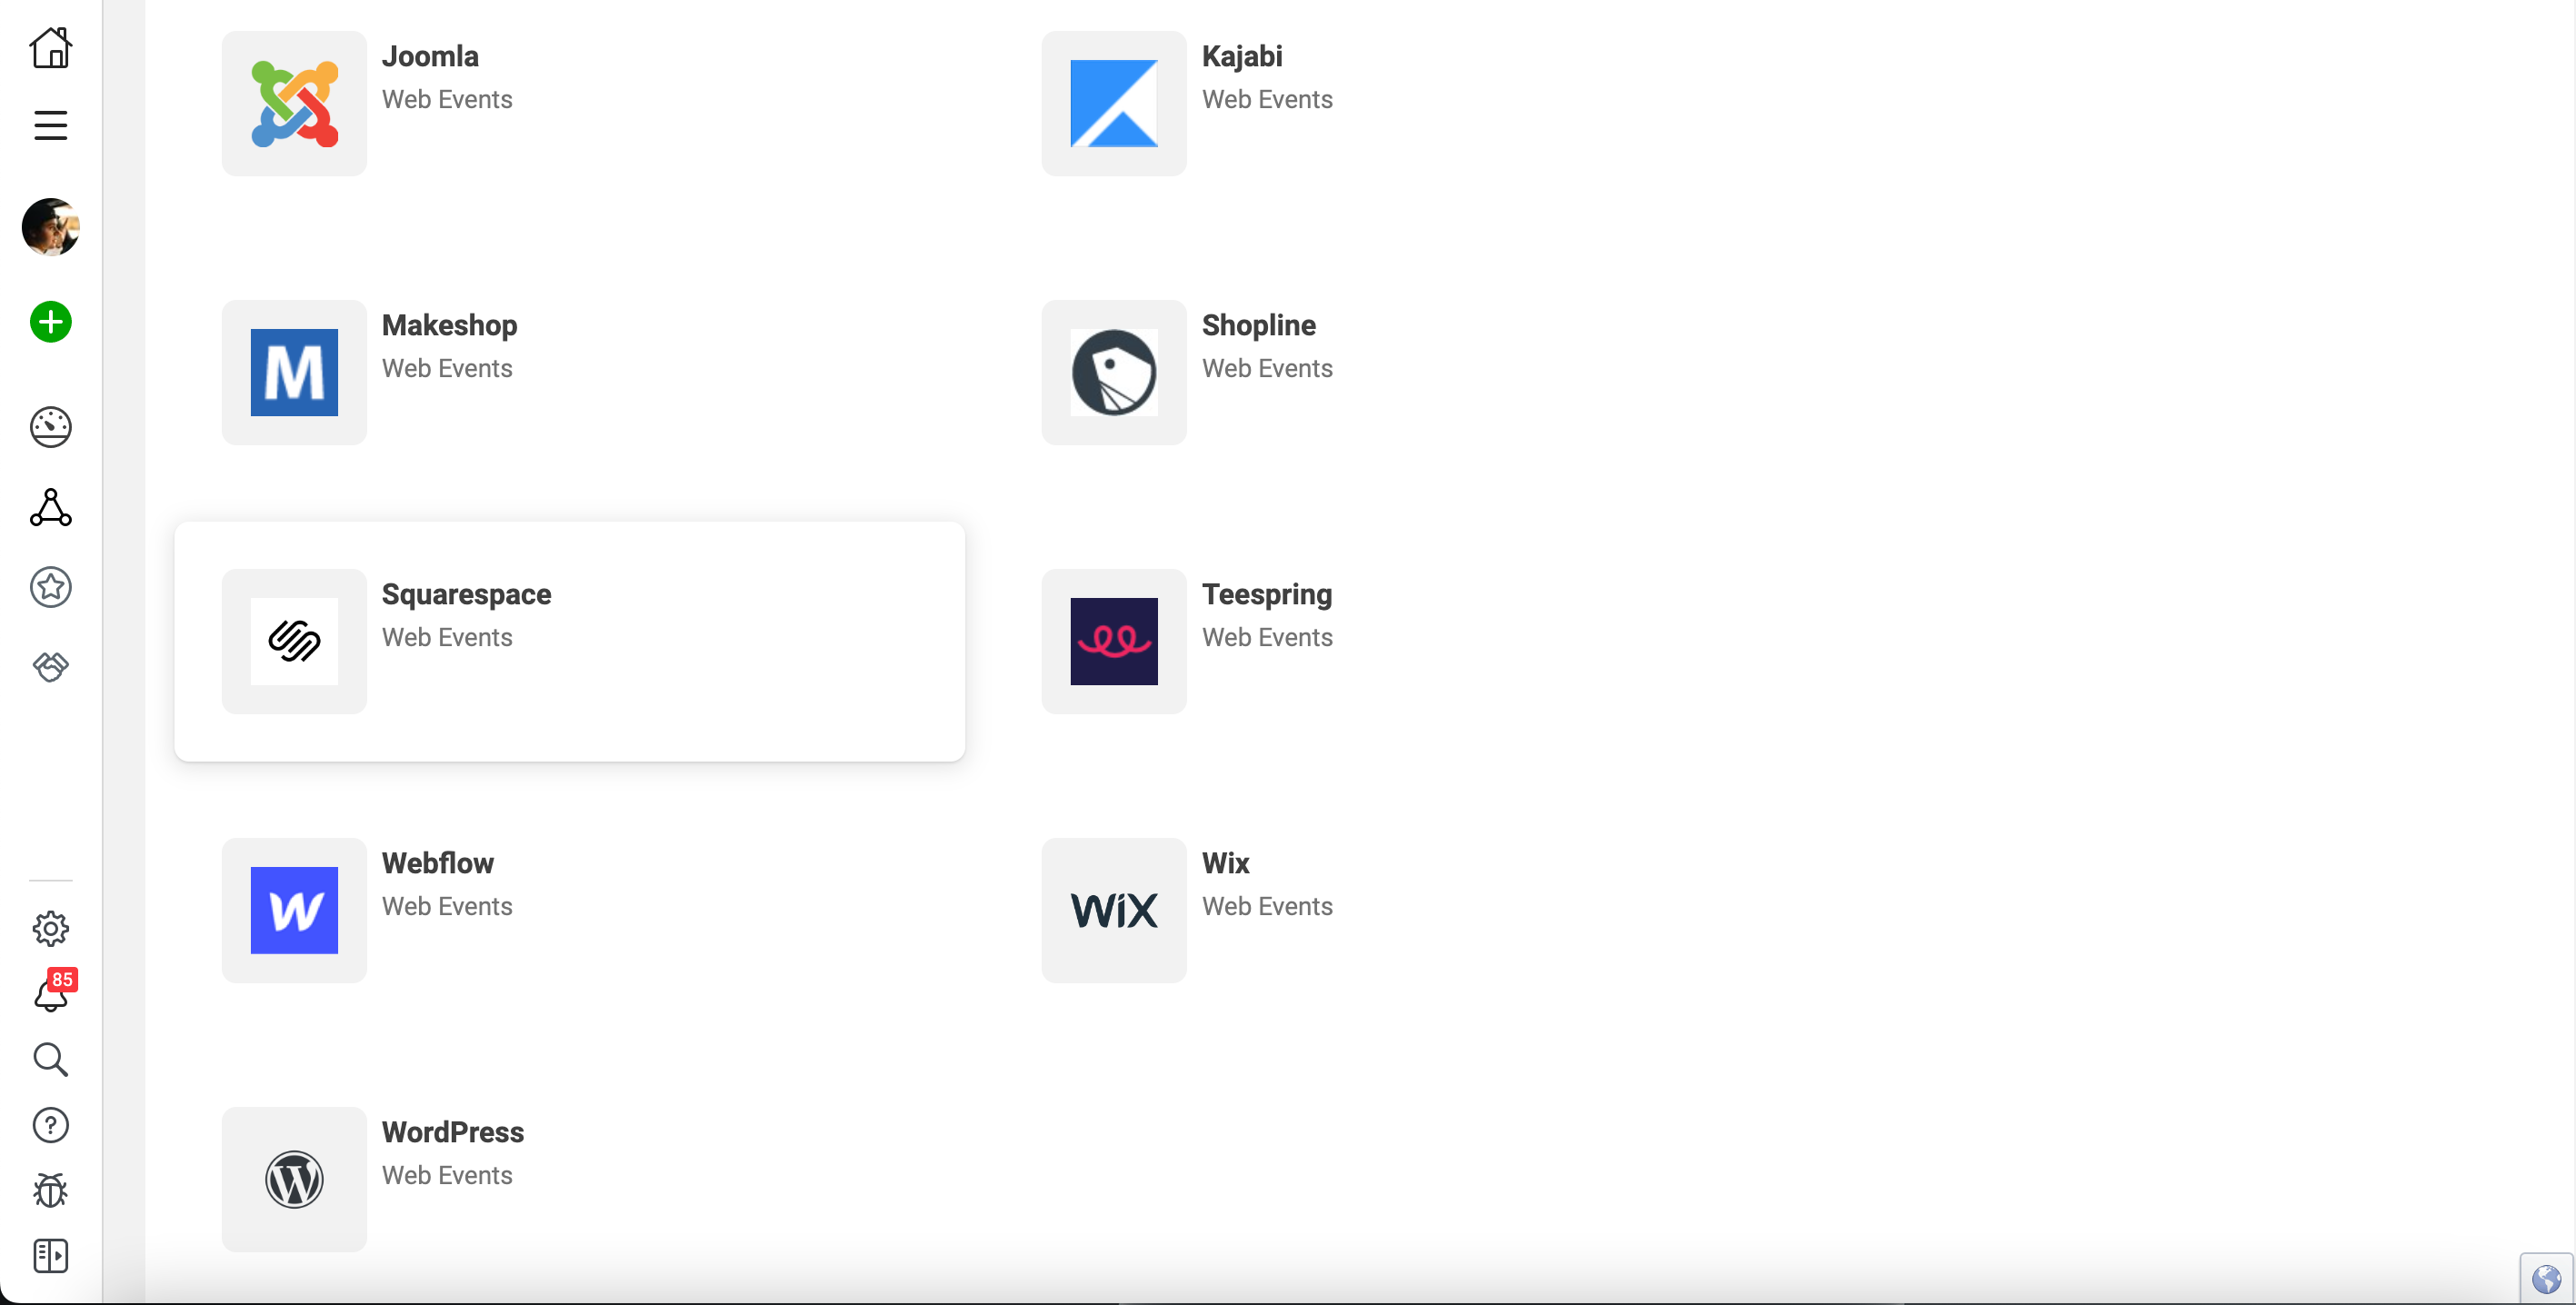
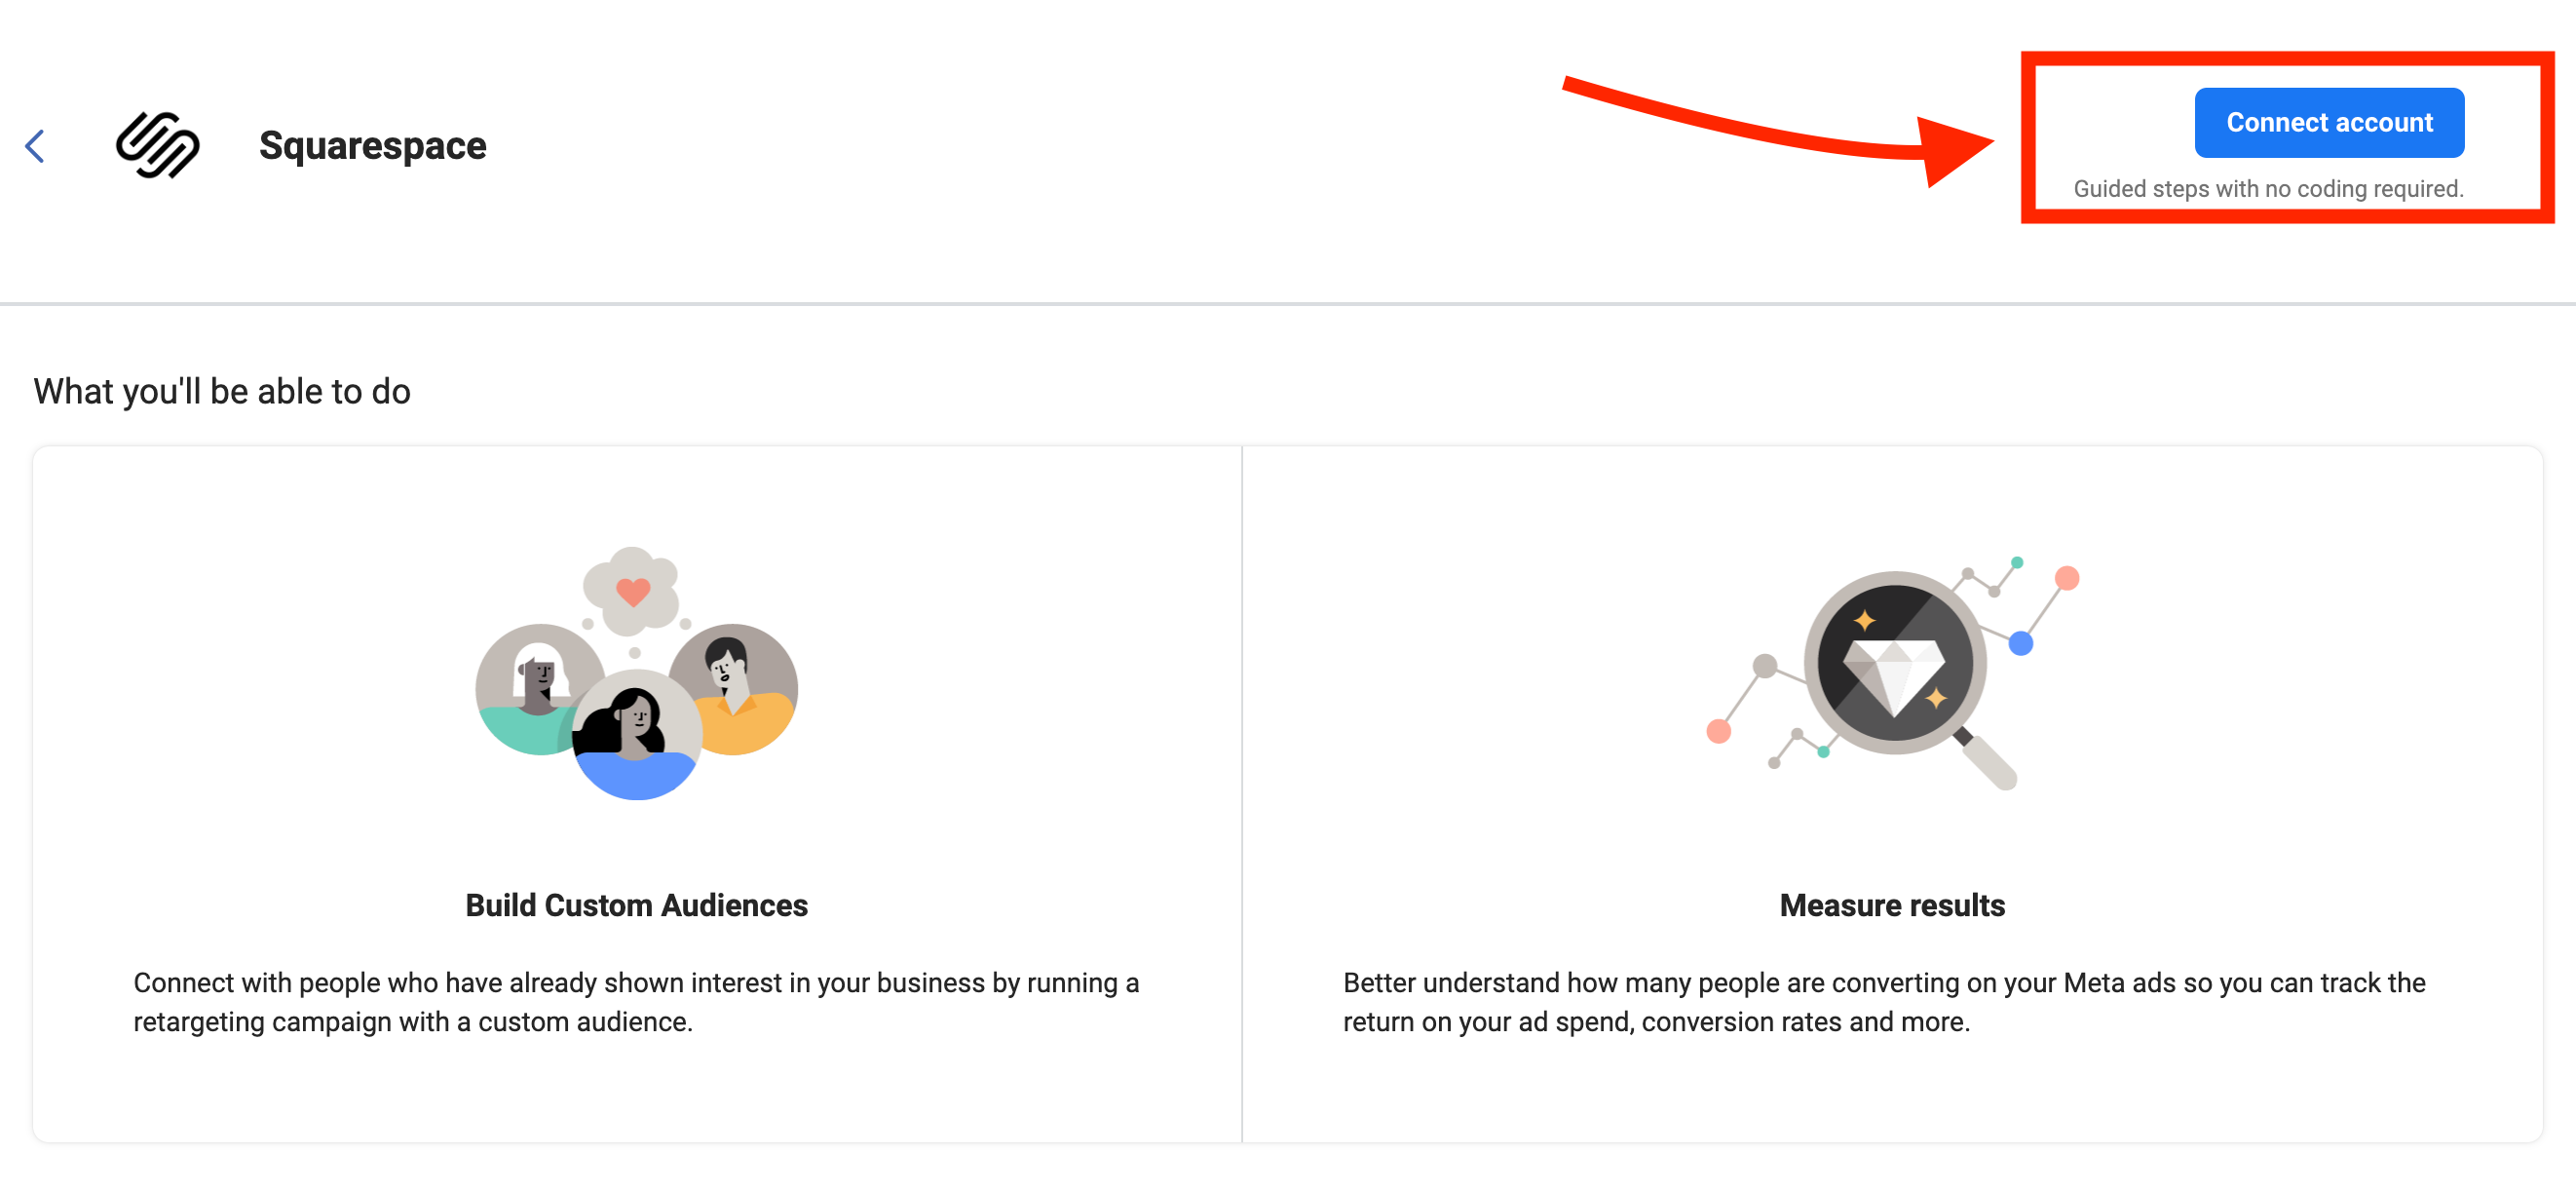
Once you’re on the partner integrations page, select the integration you’d like to connect (this will most likely be your web builder i.e. Shopify, Squarespace, Wordpress, etc). Then click “connect account” (for this case we’ll be using squarespace).

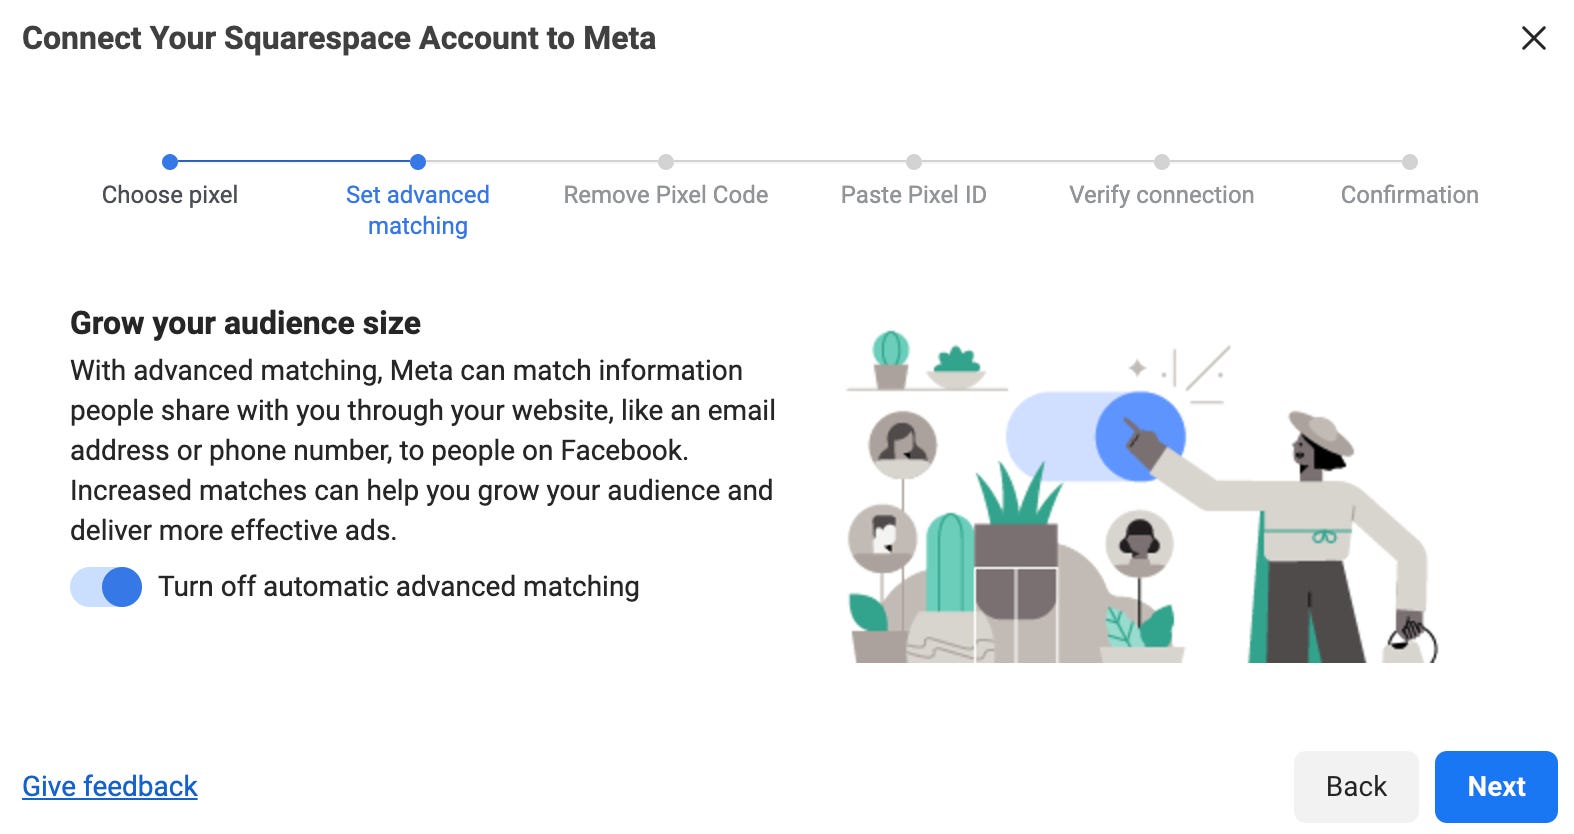
Go through the required steps that Facebook lays out for you. The steps will be different for each site builder/platform attempting to integrate with Facebook.

*No matter what platform you are trying to integrate, Facebook will require you to input some form of data to connect the pixel with your platform. You may have to install a plugin for your site, or input a pixel ID into your site builder, or something of that nature.
Now What?
Now that your pixel has been installed, you’ve enabled Facebook to track specific actions people take on your site after clicking on your ads. Through custom “Events” in Events Manager, you can tell Facebook what specific actions you’d like to track.
For example, if you’d like Facebook to track how many people clicked on your ads and then made a purchase on your site, you would set up a custom event for that. Or maybe you want to track when someone clicks your ad and then fills out a contact form on your site, you can create a custom event and have Facebook track that as a “lead.” Click here to learn more about this.
You can also retarget people who have visited your website. Click here to learn more about this.
Additional Resources
Have additional questions? Or are you looking to customize a Facebook ads strategy to you or your client’s particular business? You can set up a 100% FREE consultation with me at jasethorne.com.
The Facebook Business Help Center is another great resource that can answer your questions and provide foundational knowledge on Facebook advertising.
Share and Subscribe
If you found this post helpful, feel free to share it with anyone who may benefit from this information and subscribe to my blog for more Facebook advertising content.